Remove visual marking label in Microsoft Information Protection
How to remove legacy visual markings in Word and PowerPoint during a migration to Microsoft Information Protection.
This post was originally published on my old blog and has been migrated here for archival purposes.
How to remove a visual label inside the header or footer of a Word document with the WordShapeNameToRemove function in the AIP Unified Labeling client.
Introduction
In a recent customer project, documents had to be migrated from an older information protection solution named Novapath to Microsoft Information Protection. The project was part of a broader Microsoft 365 migration.
The classification level of the documents was stored not only in file metadata, but also visually in the footer of Word and PowerPoint documents. During the migration, those legacy visual markings needed to be removed when applying the new Microsoft Information Protection labels.
Show classification information
To inspect the existing classification information of a document, you have two options:
- Extract the Office file with a tool like
7-Zipand inspect the embedded metadata files. - Use PowerShell to read the custom document properties directly.
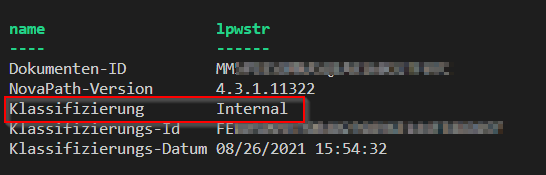
$filename = "C:\Temp\Confidential Document.docx" $zip = [System.IO.Compression.ZipFile]::Open($filename, 'Read') $propsentry = $zip.GetEntry('docProps/custom.xml') if ($propsentry -ne $null) { $stream = $propsentry.Open() $reader = New-Object System.IO.StreamReader $stream $content = $reader.ReadToEnd() $xmldoc = [xml]$content $xmldoc.Properties.property | Select-Object name, lpwstr } $zip.Dispose() The output shows details such as the document ID, the classification client version, and the classification level.
Custom configurations for the AIP unified labeling client
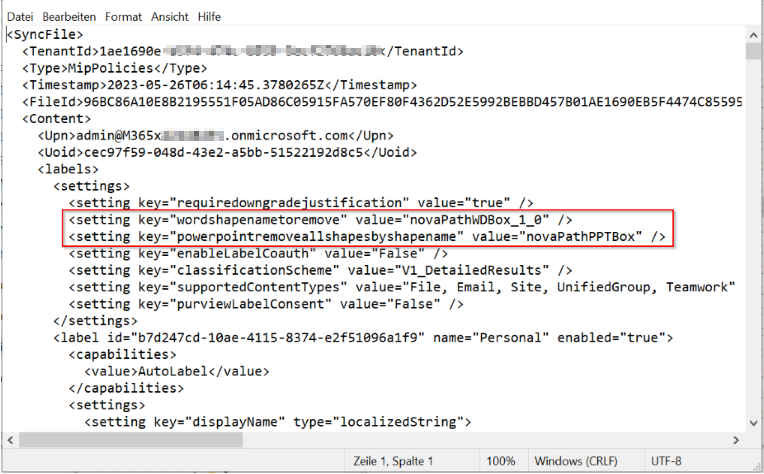
For the migration to Microsoft Information Protection, one important requirement was removing the legacy visual label. Microsoft provides functions in the Azure Information Protection Unified Labeling client for this purpose:
Remove label from Word documents
To use WordShapeNameToRemove, you first need to determine the name of the shape that contains the old label.
In Word, open the Selection Pane from the Home tab and then switch into the Header & Footer area if the label was inserted there. In my example, the relevant shape name was:
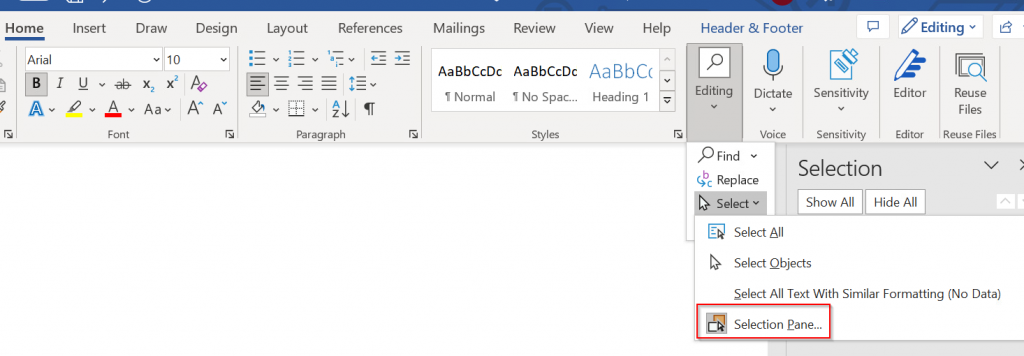
novaPathWDBox_1_0 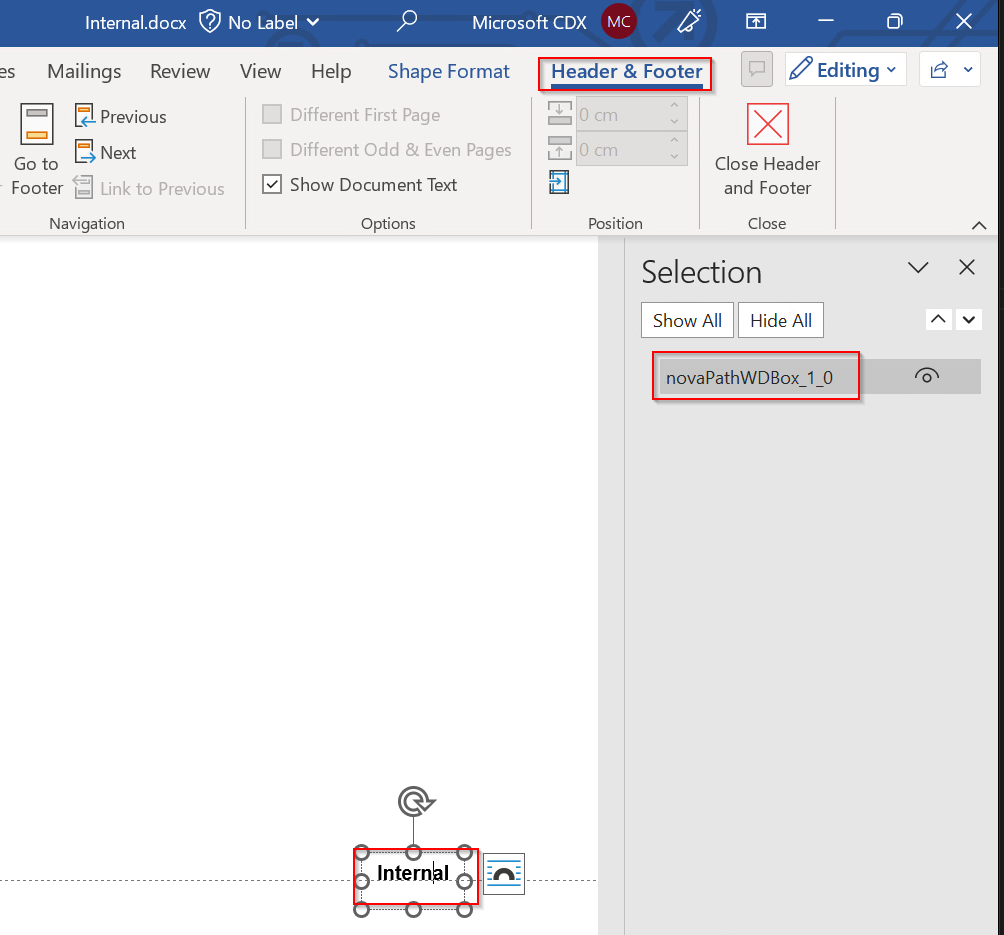
After checking documents with different classification levels, I found that the same shape name was used consistently. That meant the same setting could be applied across all affected documents.
To roll out this custom configuration, update the sensitivity label policy that is assigned to users:
Connect-IPPSSession $labelpolicy = "Global sensitivity label policy" Set-LabelPolicy -Identity $labelpolicy -AdvancedSettings @{WordShapeNameToRemove="novaPathWDBox_1_0"} When a user opens a document and applies the new Microsoft Information Protection label, the client removes the old visual marking automatically.
Remove label from PowerPoint documents
The corresponding PowerPoint function is PowerPointRemoveAllShapesByShapeName. The approach is very similar.
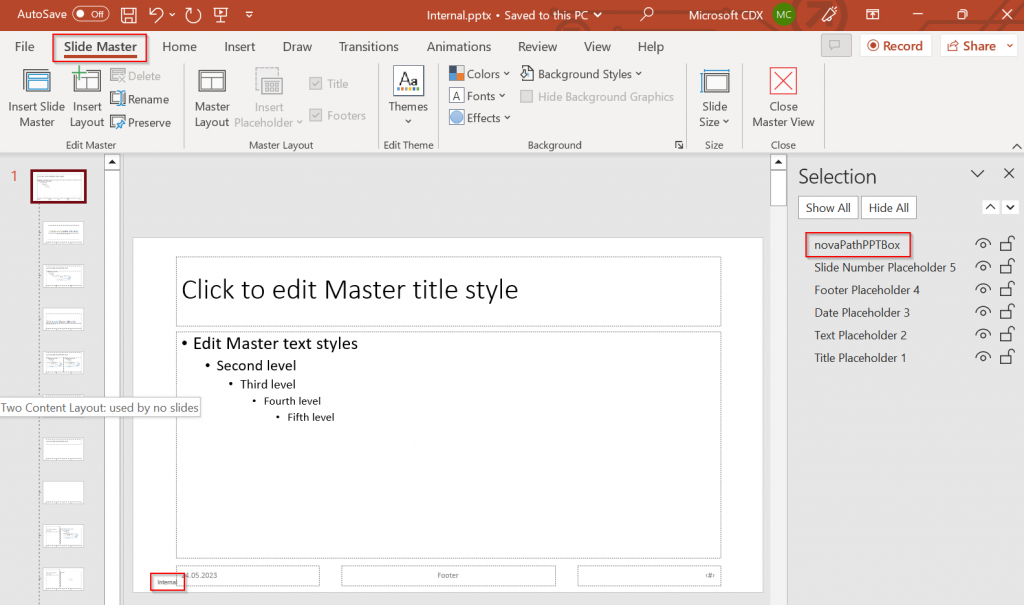
In my case, the label was placed in the slide master, so I first identified the shape name used there. After that, I updated the same label policy with the PowerPoint-specific setting:
Connect-IPPSSession $labelpolicy = "Global sensitivity label policy" Set-LabelPolicy -Identity $labelpolicy -AdvancedSettings @{PowerPointRemoveAllShapesByShapeName="novaPathPPTBox"} Once configured, applying a new sensitivity label in PowerPoint removes the old legacy marking in the same way as in Word.
Check the rollout of the custom configuration on the Office client
After updating the policy, allow some time for the cloud configuration to propagate and for the Office client to download the updated settings.
To speed up testing on a client:
- Close all Office applications.
- Delete the locally cached policy file from:
%LOCALAPPDATA%\Microsoft\Office\CLP There is a user-specific policy file in that folder. After deleting it and starting Word again, the client downloads the latest configuration from the service.
In my case, it took around 10 minutes until the updated configuration was reflected on the client.
Test the removal of the visual markings
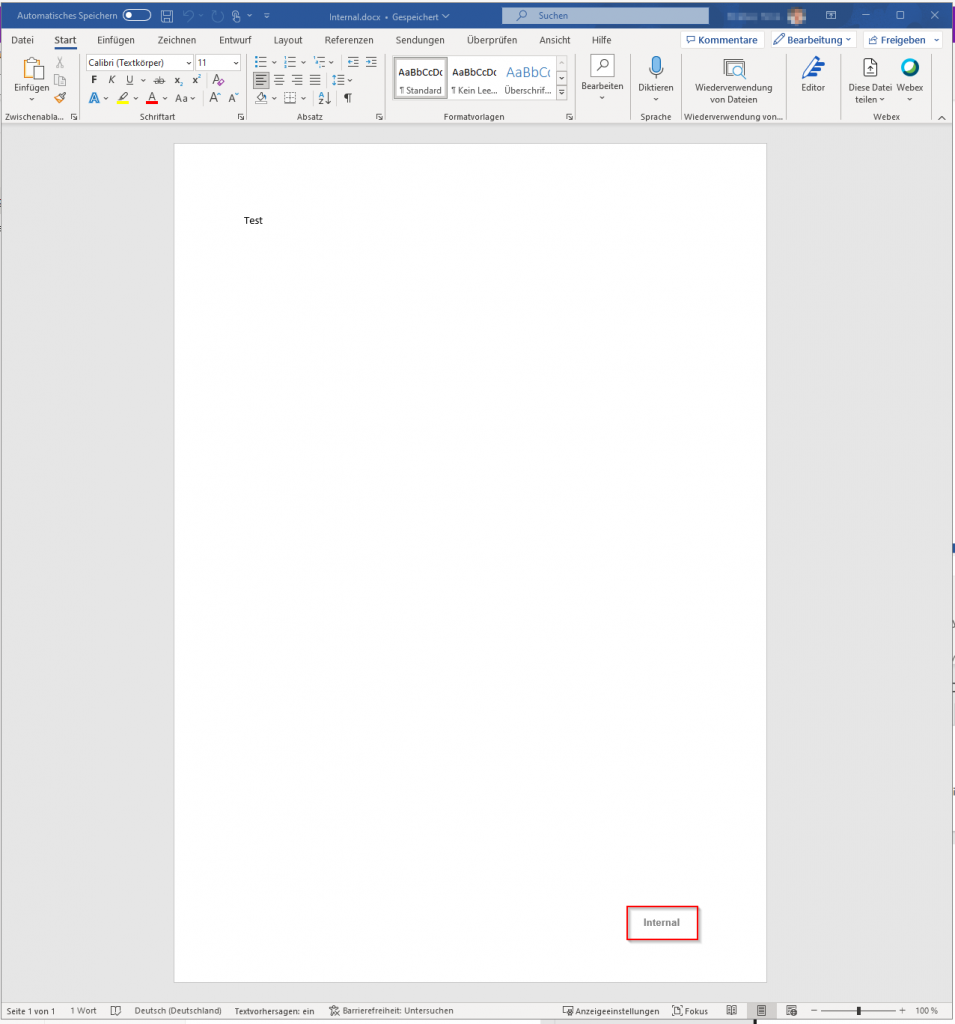
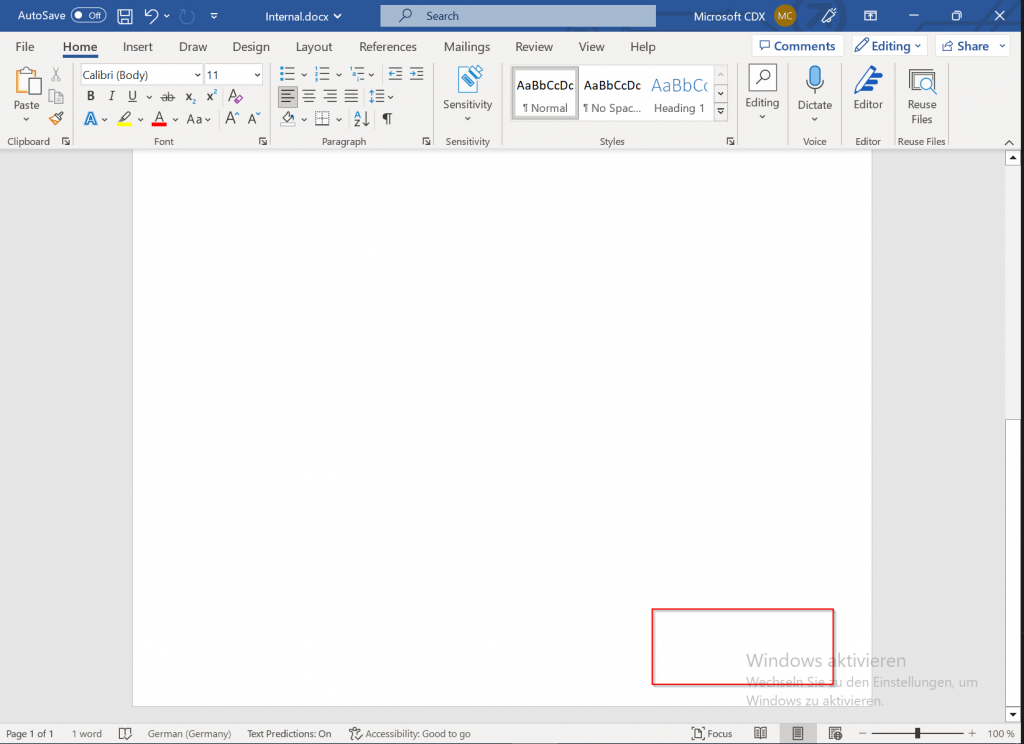
To verify the result, I opened a Word document that still had the old Internal marking and then assigned a new sensitivity label such as General using the AIP Unified Labeling client.
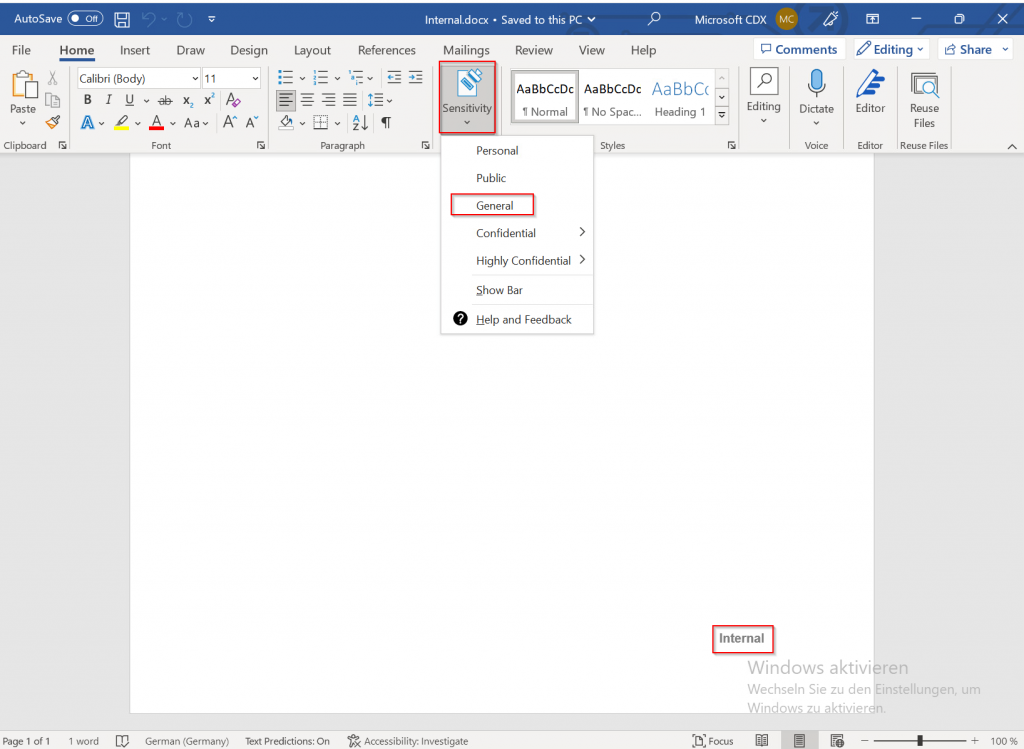
After applying the new label, the old footer marking disappeared immediately.
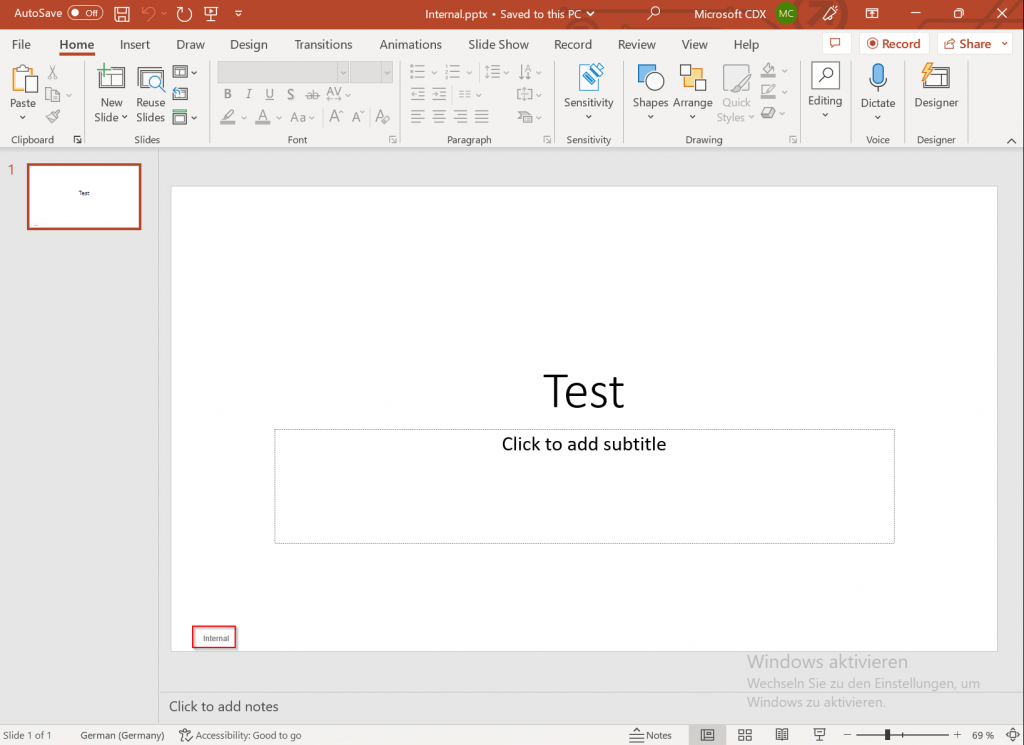
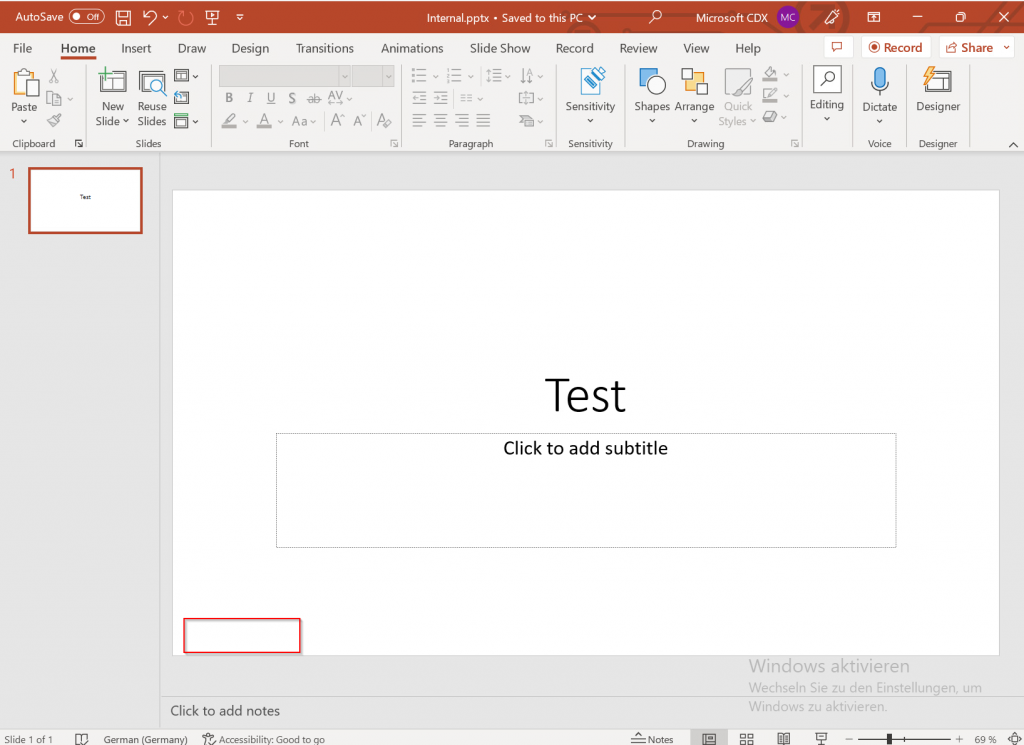
PowerPoint behaved the same way: as soon as the new label was assigned, the legacy visual marking was removed.
Limitations of the solution
- The removal only works when assigning the label while the document is open.
- Assigning the label in Windows Explorer with the AIP Unified Labeling client does not remove the visual marking.
- You must use the AIP Unified Labeling client and ensure that it is actually enabled.
I initially ran into an issue where the client was installed, but not enabled correctly. In that case, the integrated labeling add-in was used instead, and the visual markings were not removed.
Source
Original article: